macOS Ventura beta in VMWare Fusion
VMWare Fusion doesn't make it easy to set up a fresh VM with Monterey or later. Here are some resources to help get your Ventura beta VM on its feet.

For all of you developers out there (or hobbyists waiting for the public beta), I thought it'd be nice to collect the existing resources I've found that helped me get a macOS Ventura beta VM up and running in VMWare Fusion. There's more than one way to skin this cat, but this is what worked for me.
The workflow below is to create a new, empty Monterey VM and then install the Ventura beta on top of it. I went through this extra step since I was having trouble sourcing a Ventura macOS installer package, so I needed to find a workflow where I could run the upgrade from System Preferences. Inelegant, but quite effective.
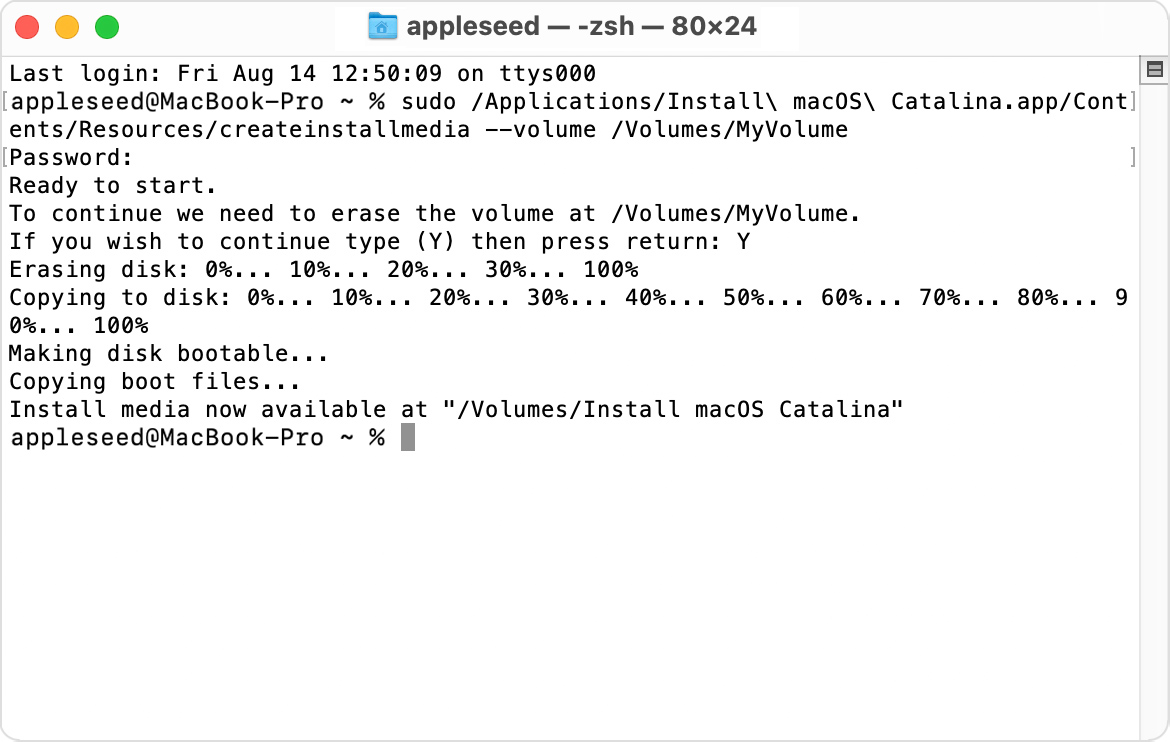
1 – Create a bootable macOS Monterey USB installer
VMWare Fusion has a weird quirk where they've still not set up a configuration preset for Monterey and will error out if you try to just use the installer app package or your Recovery Partition as a source. Charming. To move forward, we'll need USB installation media instead.

2 – Create a custom virtual machine and install Monterey
With your USB drive created, follow the steps in Alan Siu's blog below. You'll be creating an empty, custom macOS 11 VM, booting it up (it won't work), and then pointing it at your Monterey USB installer.
3 – Download and install the Ventura beta
Once you finish setting up your new VM, create a user account and get to the desktop. From there, follow Apple's recommended steps on signing into https://beta.apple.com/sp/betaprogram/enroll and follow the listed steps in your VM. You'll download a PKG file, run it to make the beta available in System Preferences → Software Update, and then begin your upgrade.
4 – Update your VM settings
Congratulations, you've finished setting up a VM with the Ventura beta. But before you take a snapshot and begin your testing, verify your network adapter settings are operational. If you end up in the situation I did, you may need to make a quick edit to your vmx file to get internet access up and running.

There are other ways to proceed - after going through this workflow myself, someone mentioned a powerful combination of leveraging Mr. Macintosh's link to the Ventura installer package with Rich Trouton's create_macos_vm_install_dmg script. I haven't given this a shot yet myself, but it may simplify the workflow quite a bit if VMWare Fusion plays nice with the resulting file. You could alternatively try downloading the Ventura installer package and creating a Ventura USB installer and skip a few steps. One benefit of the roundabout method I used would be the ability to start your testing workflow for each beta release by running the installer itself as step one. A silver lining for the extra time spent, made easy if you take a snapshot of your VM immediately before running the installer.
Once you're all set, happy hunting! Remember to file as much feedback to Apple as possible during the beta period. Finding bugs or incompatibilities during the beta period is wildly more convenient than stumbling into one in production. And who knows, if you present your feedback to Apple well, they may just take it into consideration and implement it. Be the change you want to be in macOS.


